Nativity Coloring Wheel Printable: Birth of Jesus Story Wheel for Kids
- Files
- 4 PDFs: full color and coloring edition, US Letter and A4
- Pages
- 6 pages in each PDF
- You need
- Scissors, 1 paper brad, a sharp pencil or push pin
- License
- Personal use
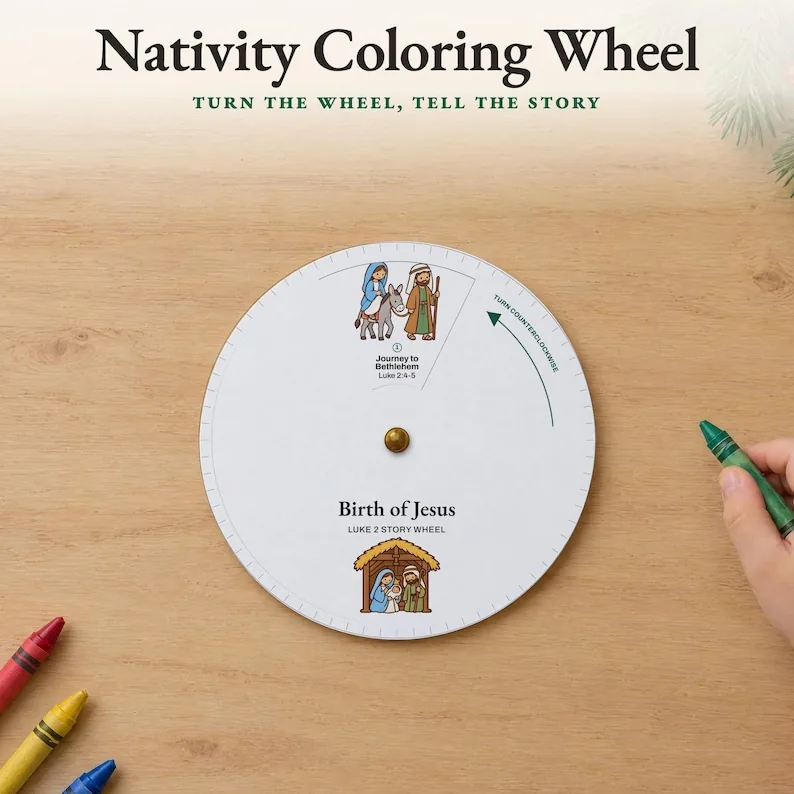
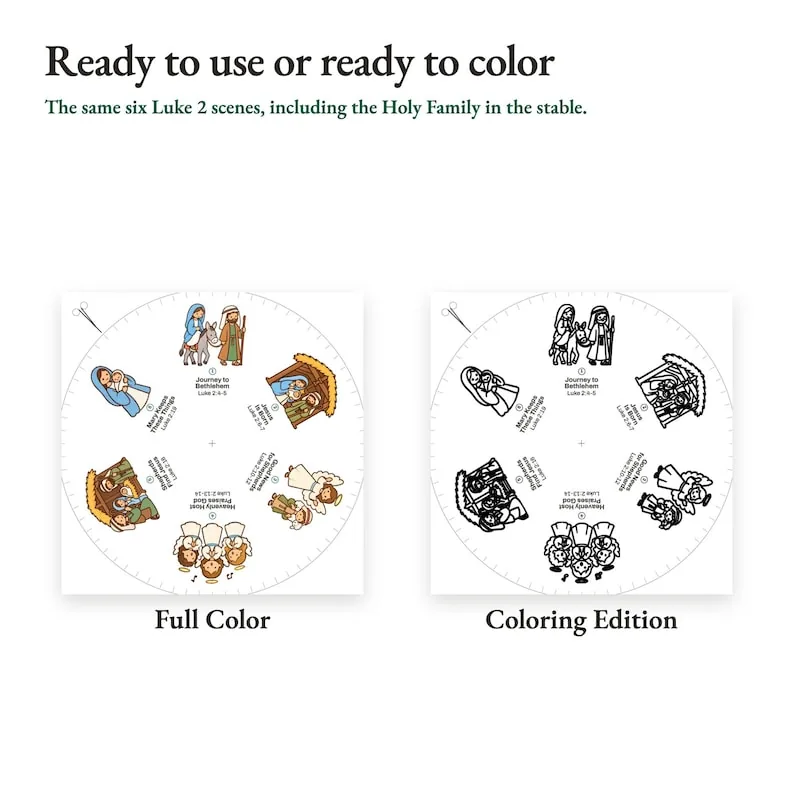
Two paper circles and one paper brad turn into a small story machine: children spin the lower wheel, and the six scenes of Luke 2 appear one after another in a window cut into the top circle. The wheel runs from the journey to Bethlehem to Mary treasuring all that had happened, each scene with its verse reference. A full color edition is ready to use, and a coloring edition has the same scenes as clean outlines to color first.
Luke 2 in six turns
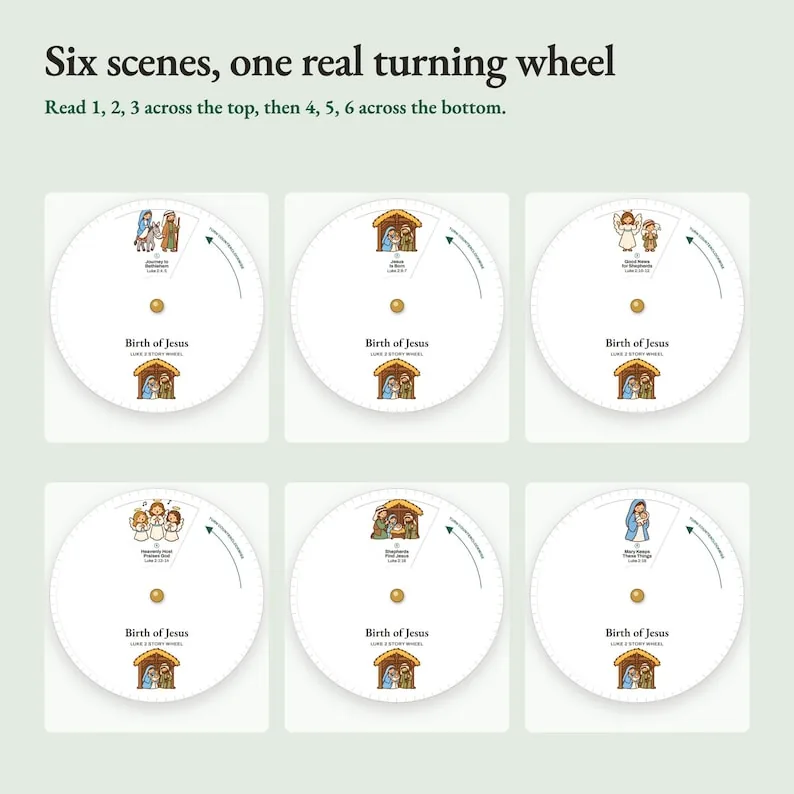
The story wheel follows Luke's account in order, and each picture is labeled with its title and verses so children can find the place in their Bibles. Scene one is the Journey to Bethlehem, Luke 2:4-5, with Mary riding the donkey and Joseph walking beside her. Scene two, Jesus Is Born, covers Luke 2:6-7 and the manger. Scene three, Good News for Shepherds, is the angel's message in Luke 2:10-12, and scene four, Heavenly Host Praises God, is the choir of angels in verses 13 and 14. Scene five shows the Shepherds Find Jesus from Luke 2:16, and the last, Mary Keeps These Things, ends with verse 19 and Mary holding the child. One full turn of the wheel retells the Christmas story of Luke 2.
Making the wheel
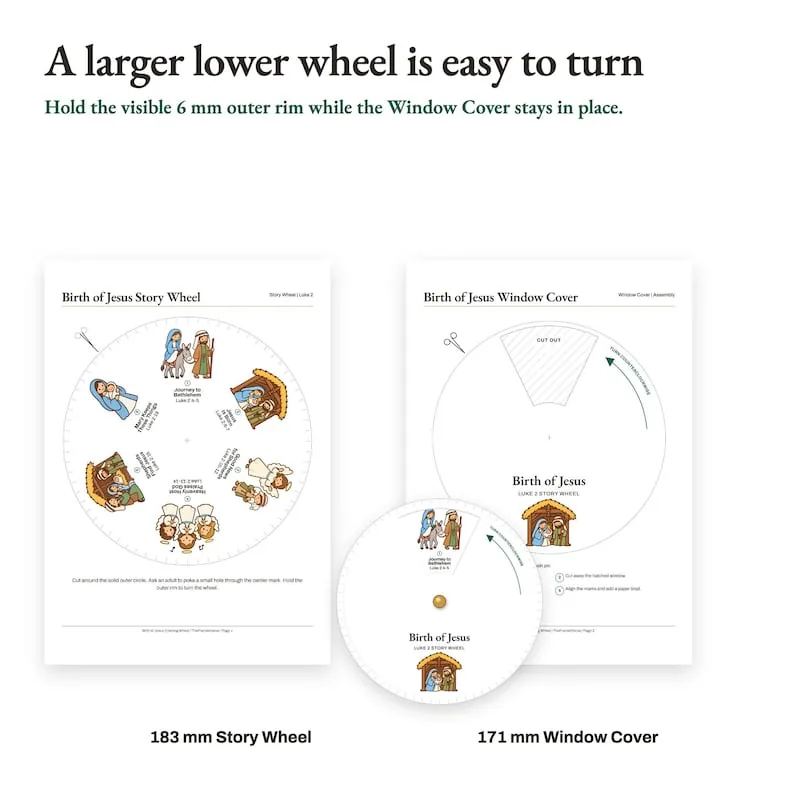
Print the Story Wheel page and the Window Cover page at 100 percent or Actual Size, ideally on cardstock so the wheel lasts. Cut out both circles and cut away the hatched window in the cover. An adult then pokes a small hole through each center mark with a sharp pencil or a push pin. Lay the cover on top of the wheel, line up the center marks and push a paper brad through both, folding its legs flat at the back. The lower Story Wheel measures 183 mm across and the Window Cover 171 mm, so about 6 mm of the lower rim stays visible as a grip. Hold that rim and turn it counterclockwise, to the left at the top, and the scenes come into the window in order.
Color first, or use it straight away
The two editions share the same six child-friendly illustrations in one consistent style. The full color edition is finished and ready to cut, which suits a short lesson or a group with little time. The coloring edition shows the scenes as clean outlines, so children can color the donkey, the angels and the stable before assembling their own wheel, which turns the craft into a longer activity and gives everyone a wheel that looks a little different. Each PDF also has three extra pages: a Bethlehem maze, a Luke 2 word search with a star count, and an answer key for both. A print guide page with the settings and assembly notes closes the file, so a helper can prepare the copies from the file alone.
For Sunday school, home and the classroom
The wheel fits a Christmas lesson in Sunday school or children's church, a homeschool Bible session, a classroom craft table or quiet time at home. A simple plan is to read Luke 2:1-20 aloud, color the scenes, assemble the wheels together and then let each child tell the story back while turning their own. You receive four PDFs, the full color and the coloring edition, each in US Letter and A4, with six pages in every file. Nothing is shipped, and the paper brads are not included. You may print copies for one household, one classroom or one church group. Sharing the files, reselling them or passing them on to other groups is not permitted.
What is included
| Item | Details |
|---|---|
| Story Wheel | Six numbered Luke 2 scenes with references, 183 mm across |
| Window Cover | Cut-out window, turning arrow and assembly steps, 171 mm across |
| Bethlehem maze | Activity page |
| Luke 2 word search and star count | Activity page |
| Answer key | Solutions for the activity pages |
| Print guide | Printer settings and assembly notes |
| Editions | Full color and coloring edition, US Letter and A4, 6 pages each |
Frequently asked questions
What do I need besides the printout?
Scissors, one paper brad for each wheel and a sharp pencil or a push pin for the center hole. A paper brad is the small split pin fastener with two flat legs, sometimes called a brass fastener. Cardstock gives the sturdiest wheel, though regular printer paper also works for a one time lesson. Brads are not included.
Which way does the wheel turn?
Counterclockwise, which means moving the top of the lower wheel to the left. Hold the narrow rim of the Story Wheel that shows around the cover and turn it while the cover stays still. The scenes are numbered one to six, so children can check that the story is coming up in the right order.
Can young children make the wheel on their own?
Children can color the scenes and cut along the outer circles, and many can line up the center marks themselves. Poking the hole through the center marks is a job for an adult with a pencil point or push pin, as the instructions say. Fastening the brad works best with an adult hand nearby for younger children.
What is on the extra activity pages?
Each PDF includes a Bethlehem maze, a Luke 2 word search combined with a star count, and an answer key with the solutions. They work as a follow up for children who finish the wheel early or as a take home sheet after the lesson. Both editions, full color and coloring, include these pages.
How many copies may I print?
As many as your own household, classroom or church group needs. The license covers one of those groups, so a Sunday school teacher can print a wheel for every child in the class. Please do not share the files with other churches or schools, resell printed wheels or upload the PDFs elsewhere.
You might also like
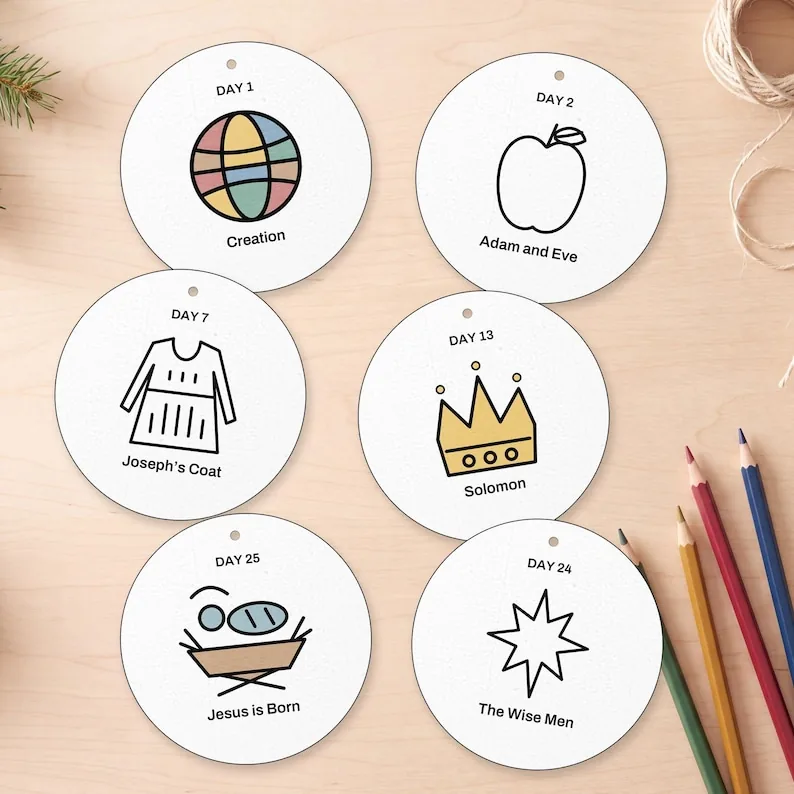
Jesse Tree Coloring Ornaments Printable, 25 Advent Designs for Kids with Scripture Readings
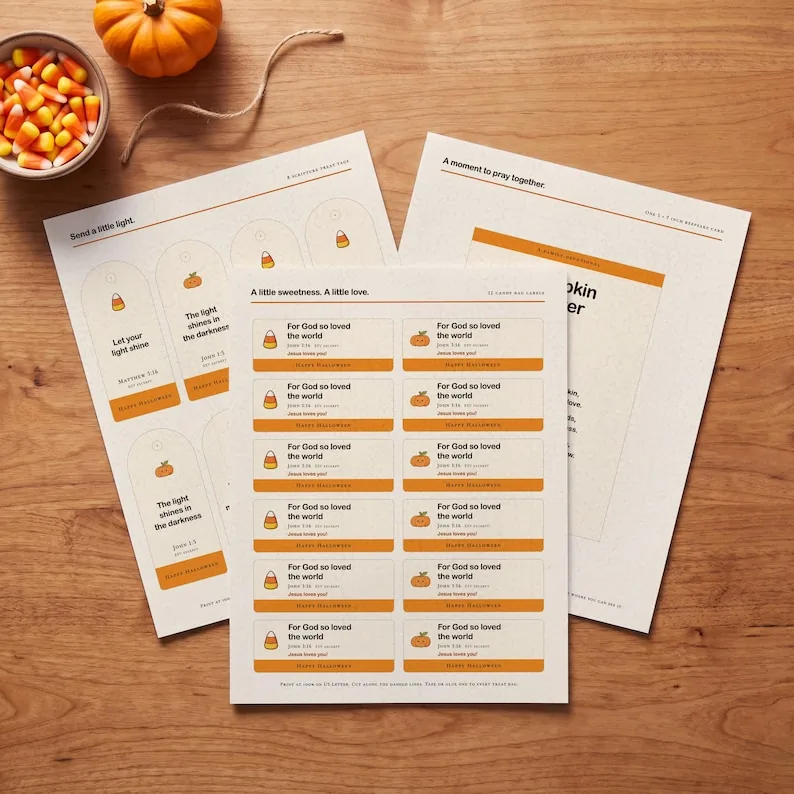
Christian Halloween Treat Kit: Let Your Light Shine, Candy Labels, Scripture Tags & Pumpkin Prayer
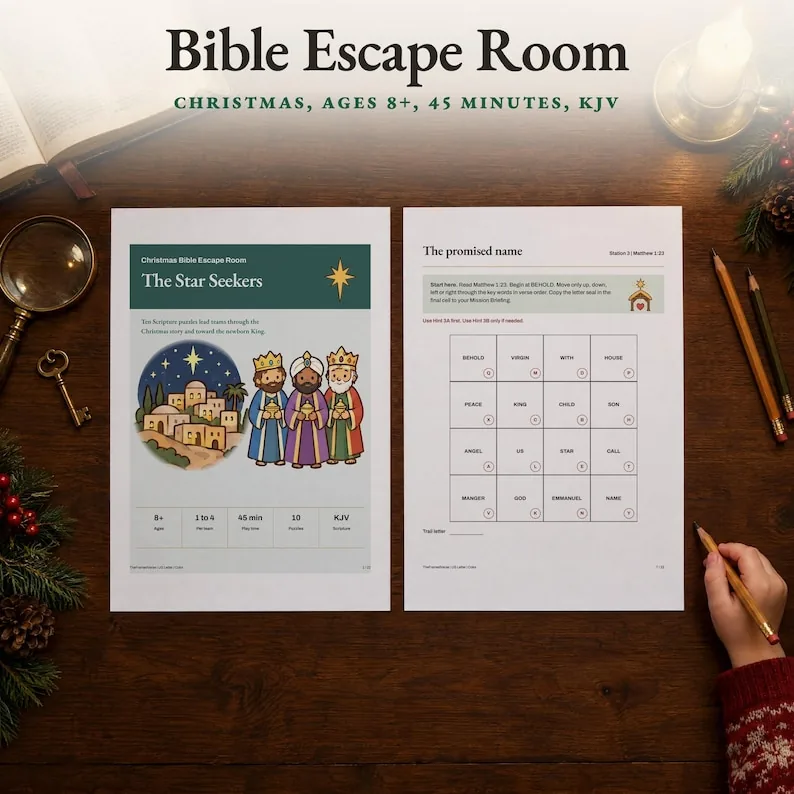
Christmas Bible Escape Room Printable for Kids, Youth Group Games, Sunday School Activities, Star Seekers